So friends, this is the last part of our series of “ Repurposing Content”. We have already discussed how to repurpose content for social media, email marketing, and Youtube. You can check all the links below if you have missed any of them. To make it easier for you in every article I also added a 30-page journal to schedule things and get it done. Today we are going to discuss how to repurpose content for Pinterest. If you are familiar with this series, by now I am sure you became familiar with the pattern we are following. But first, let’s discuss why it’s important to repurpose content for Pinterest.
Repurpose Content Series:
Repurpose Content for Social Media
Repurpose Content for Email Marketing
Why Repurpose Content for Pinterest?
Pinterest is one of the most popular social media search engines that can drive immense traffic to your site if you do it consistently. On the contrary belief, Pinterest is not only a social media platform but it’s also a search engine. People search on Pinterest to get new ideas. They collect the stuff in a “Pin” form on their board. On the basis of Pinterest results, people make buying decisions and it’s a huge factor that one should not ignore.
Secondly, like all other social media platforms, Pinterest loves new pins and promotes the boards that engage on Pinterest regularly. It allows you to create multiple pins for one single blog post. So you can literally create 5 pins per blog post and Pinterest is going to welcome you! Also, Pinterest promotes your affiliate links, so there are many reasons you should have a social media profile on Pinterest.
Now let’s come to our point of repurposing content. Yes, we can create 5 pins per blog post but sometimes it becomes very mechanical with the same heading and meta description. Today I am going to show a unique way to create multiple pins without being repetitive.
And as I mentioned above, you need to create new pins to get more eyeballs for your website. Creating new pins from your existing content can be a great way to draw traffic.
Deciding Which Content Is Suitable For Repurposing
Though It is a very important step to decide the content for repurposing, it should not be difficult. In fact, you can take any piece of content that’s already published and turn it into more than 5 pins, depending upon the length of your content.
But some pieces of content are more favourable to repurposing.
For example:
- Evergreen content
- Best of articles
- Listicles
Now that it’s clear to you what kind of content you can use for repurposing for Pinterest, let me show you the simple method or steps you can easily follow.
Steps to Create Pins for Repurposing Content
First, you need to list all the articles, you want to repurpose for Pinterest dividing them into the above three categories.
Now take one blog post at a time and work with that. Once you are done, move to the next article and so on.
Most of the time, when we create pins for our blog post, we add the same heading and same meta description, and just change the font, colour, and images. That’s a great way, I was doing the same all these years:) But in the last WAbinar of WA, Jay taught us this method and I am sharing it with you.
OK, now let’s take any article on your website. Every article can be divided into:
- Heading,
- H2
- H3
- H4
- Conclusion
You can use all these to create a new pin. I am going to explain it with an example. Now, let’s take the example of this blog post.
Live Example:
- Heading: Repurpose Content for Pinterest
- H2: Why Repurpose Content for Pinterest?
- H2: Deciding the content
- H2: Steps to Create Pins
- H3: Live Example
Now with these subheadings and heading you can easily create 5 pins that are totally new and fresh, without going repetitive.
So, let’s create a pin for our heading “Repurpose Content for Pinterest”. This is the heading or title of our blog post.
You can create a pin with the heading “ simple steps to Create New & Refreshing Pins from Your Old Content”
The second Pin can be “Why You Should Repurpose Your Old Content for Pinterest”
The third Pin can be “3 Steps to Decide Content for Repurposing for Pinterest”
The fourth Pin can be, “Learn how to create new pins from old content”
The fifth pin can be, “ See Live how to repurpose your old content for Pinterest”
So it’s as simple as this.
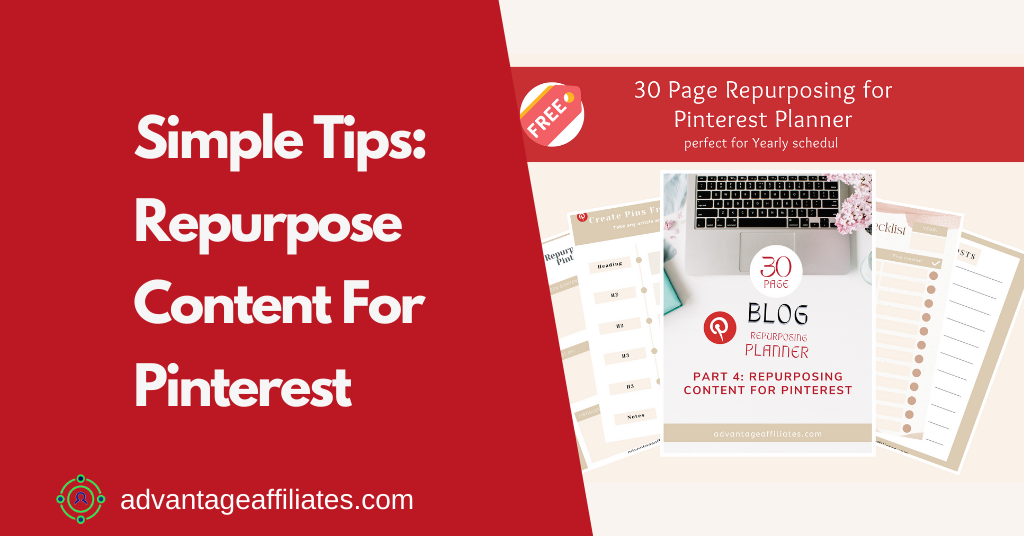
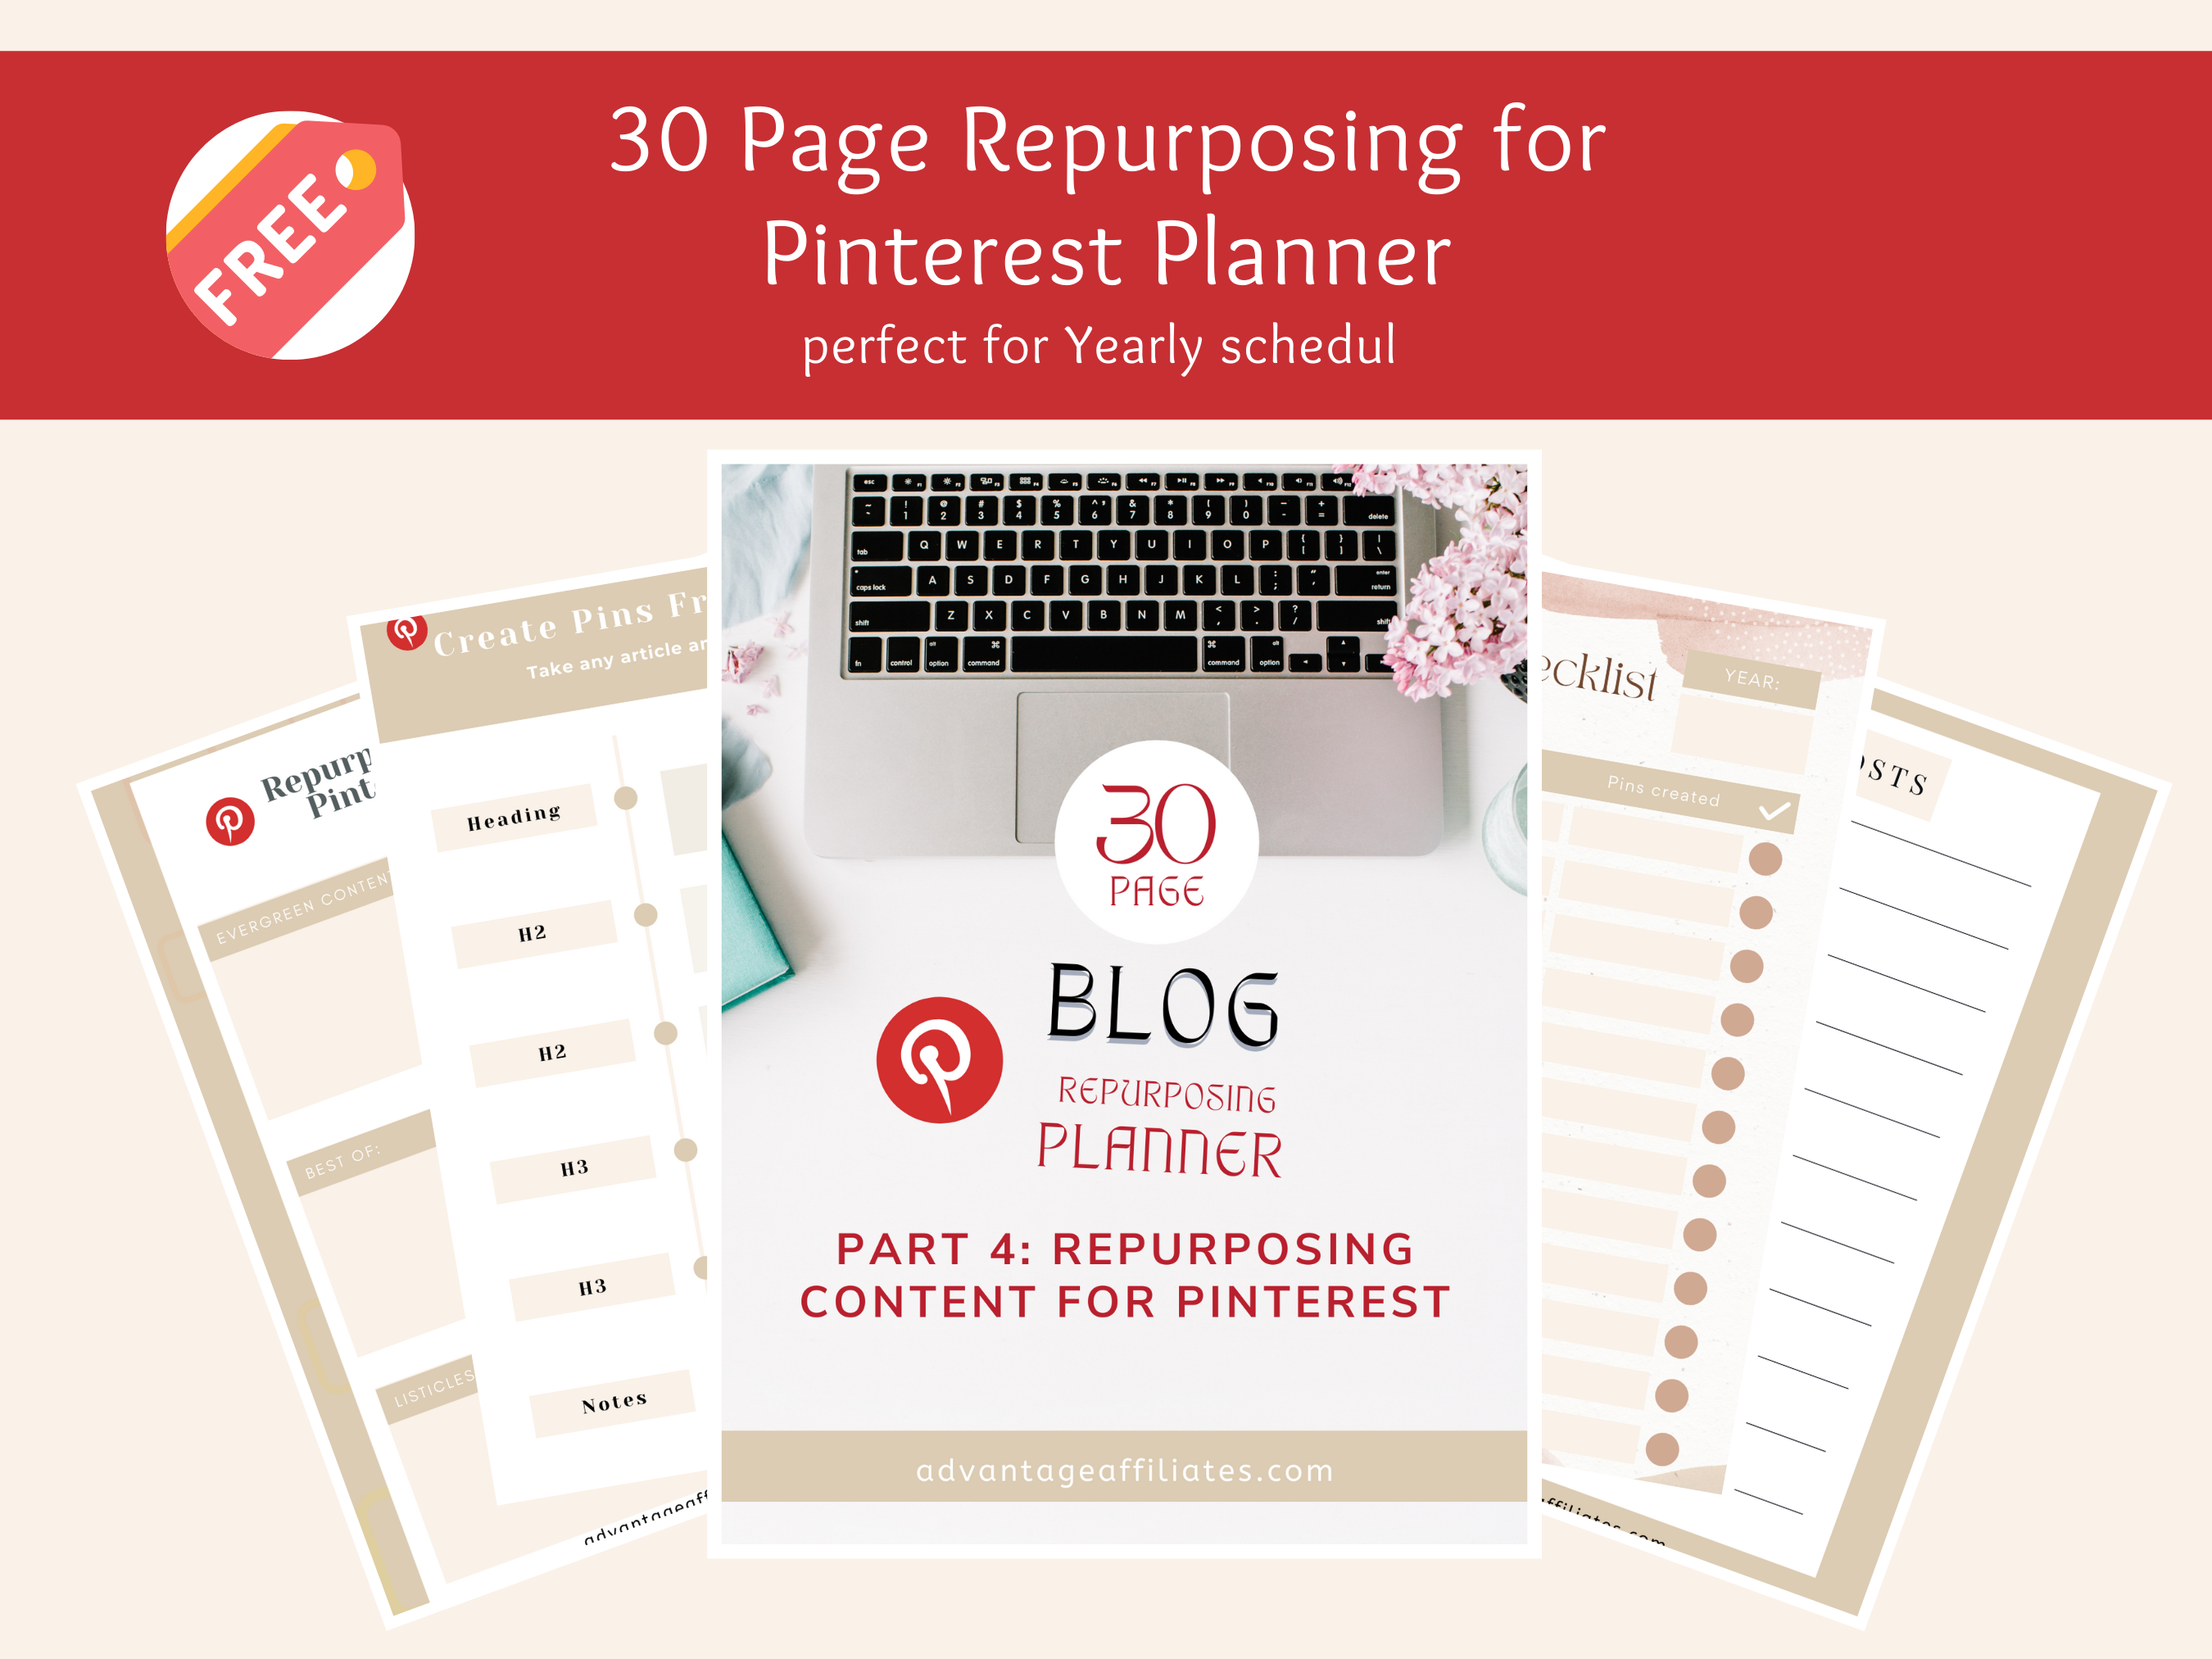
To make it easier for you I have created a 30-page journal for you, feel free to download it.
It includes pages like:
- List all blog posts to make pins
- List articles into different categories mentioned above
- List all H tags and create pins from it
- Yearly checklist for number of blogs from which to create pins and created pins each month
- Notes
Now I can go ahead and add another piece of information like the Best Graphic design tools to create your pins.
Best Graphic Design Tools To Create Pins
- Canva
- Powerpoint
- Google Slides
- PicMonkey
- Photopea
There are many advanced graphic tools available like Photoshop, GIMP, Inkscape but the above ones are relatively easy and free to start with.
If you want some more graphic design tools like Canva that are totally free, check out this blog post: Free Graphic Design Tools Like CANVA.
GIMP and Inkscape are also free and you will find a ton of other resources for graphic design. My personal favourite is Canva, as it’s really easy to use and has some awesome tools which you can access for free.
Canva has pre-made templates for almost anything and you can get started with Pinterest templates.
So if you want to create some great pins, click here. It’s totally free to join. I use Canva for all my designs – personal & professional.
I created my website cuteprintable.com around printables, and I know I just need a Canva Pro account, to start my business around printables. All the images, graphics, worksheets, journals that I create I use Canva. OK, enough of Canva:))
Once you create your pins, you can download and upload them to Pinterest. You can also schedule your pins on Pinterest so you can save a lot of time.
Free Plugins for Table of Content
I highly recommend using the free plugin “ Easy Table of Contents” or ” LuckyWP Table of Contents”. The benefit of using these plugins is it creates a different URL for each H tag that you create in your article.
So let’s take the same example of this article:
Once you install this plugin. Now when you write an article with H2, H3 it creates a hyperlink, so when you click on a link in TOC, it scrolls down directly to that portion of the article.
Also as I mentioned above, it creates unique URLs for each subheading, so you can use these unique URLs in your pins, making them more easily accessible to your readers. It gives them the option to read only certain parts of your article. But rest assured, if your article is informative, they will go through all of the articles.
Conclusion:
In the conclusion of this series and this article, I am sure you will understand the power of repurposing content. Your old content can help you to get more views and a great deal of traffic. Also it will help your SEO and rank you better on Google and other search engines.
Once your article starts getting traffic from all these resources that we discussed like social media, email marketing, YouTube & Pinterest, sure there will be good rankings for your website.
This whole series of Repurposing Content is based on WA Webinars, it’s exclusive to WA Premium members but I tried to give you some tips from it.
If you want to watch the whole WAbinar, Click Here.
WA webinars are full of information and if you are new to Canva this Free Webinar will help you learn how to use Canva.
I hope you like this series of Repurposing Content and if so pl share it with your friends and if you have any questions let me know in the comments below.
Free Resources For This Article:
- Canva
- Google Slides
- Powerpoint
- Free Table of Contents Plugins
- 30 Page journal (Download link above)
